Setting Python 3 as the Default Environment in Baota Panel
Why Install Old Version Packages
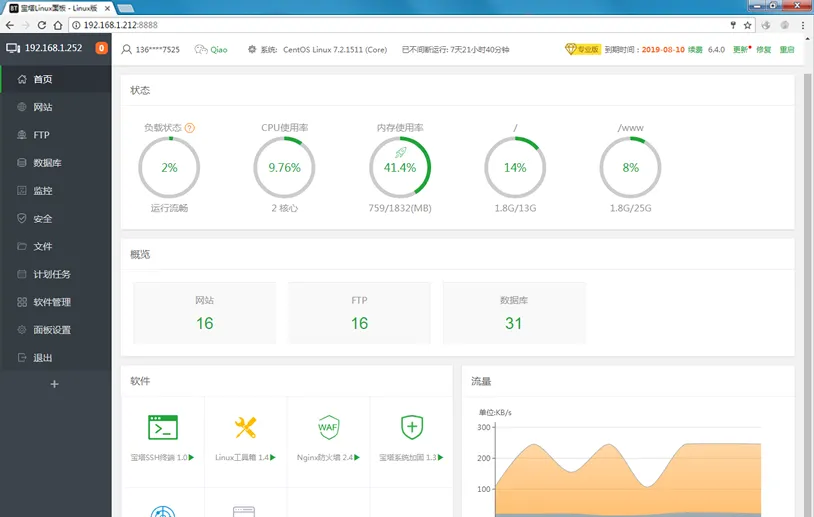
Baota Panel is a management panel that makes server administration easy through a web interface, significantly improving operational efficiency. It not only simplifies the installation of essential programs for websites but also allows you to create and manage websites, FTP, and databases. It features a visual file manager, graphical CPU, memory, and traffic monitoring, and scheduled tasks. Therefore, using Baota Panel for website setup is very convenient. However, only running a small website on a server can feel a bit wasteful; using the server for web scraping or other programming tasks is highly beneficial.
Baota Panel doesn’t come with Python 3 by default, and since Python 2 is no longer maintained, upgrading to Python 3 and setting it as the default is the first step. I couldn’t find direct tutorials online, so after successfully setting up the environment through trial and error, I’m sharing the detailed process to help others avoid similar frustrations.
First, a brief overview of the process. Upon inspecting the Baota script vi /usr/bin/bt, you’ll find:
`py26=$(python -V 2>&1|grep '2.6.')
if [ "$py26" != "" ];then
pythonV=python3
fi`
Python 3 can run the Baota Panel, meaning it’s compatible. However, Baota Panel’s installation requires Python 2, so the process involves these steps:
- First, run the Baota Panel installation script to install the panel.
- Install Python 3 and set it as the default.
- Modify
yumto use Python 2.
Running the Baota Script to Install the Panel
For a clean CentOS system, directly run the official installation script. My system is CentOS 7, so I’m using the latest Linux Panel 6.0:
bash
yum install -y wget && wget -O install.sh [https://download.bt.cn/install/install_6.0.sh](https://download.bt.cn/install/install_6.0.sh) && bash install.sh
Once installed, you’ll see a prompt. The default port is 8888; paste it into your browser to access the panel.
Installing Python 3
 The powerful Scrapy web crawling framework is compatible with Python 3.6, but higher versions might cause errors during installation. Therefore, I’ll use Python 3.6.7 for this installation:
wget [https://www.python.org/ftp/python/3.6.7/Python-3.6.7.tgz](https://www.python.org/ftp/python/3.6.7/Python-3.6.7.tgz)
tar zxvf Python-3.6.7.tgz
cd Python-3.6.7
./configure
make && make install
Python 3 is now installed.
Setting Python 3 as the Default Python
rm -f /usr/bin/python
ln -s /usr/local/bin/python3 /usr/bin/python
rm /usr/bin/pip
ln -s /usr/local/bin/pip /usr/local/bin/pip
Modifying Yum to Use Python 2
vi /usr/bin/yum
Change /usr/bin/python to /usr/bin/python2.
After making these changes, run yum update -y && python --version && pip --version. If yum runs without errors, and your Python and pip versions are for Python 3, your environment is successfully set up. You can now easily set up your Scrapy web crawling environment.
Alternatively, Install Python 3 Directly with Conda
Download and Install Conda
wget [https://repo.anaconda.com/archive/Anaconda3-2019.07-Linux-x86_64.sh](https://repo.anaconda.com/archive/Anaconda3-2019.07-Linux-x86_64.sh)
bash Anaconda3-2019.07-Linux-x86_64.sh
Follow the prompts, confirming each step, and Conda will be installed.
Add Conda to PATH
# >>> conda init >>>
# !! Contents within this block are managed by 'conda init' !!
__conda_setup="$(CONDA_REPORT_ERRORS=false '/root/anaconda3/bin/conda' shell.bash hook 2> /dev/null)"
if [ $? -eq 0 ]; then
    \eval "$__conda_setup"
else
    if [ -f "/root/anaconda3/etc/profile.d/conda.sh" ]; then
        . "/root/anaconda3/etc/profile.d/conda.sh"
        CONDA_CHANGEPS1=false conda activate base
    else
        \export PATH="/root/anaconda3/bin:$PATH"
    fi
fi
unset __conda_setup
# <<< conda init <<<
Summary
Above are two methods for installing a Python 3 environment on a server with Baota Panel. I recommend using the second method with Conda for its convenience. I hope this helps!
- 原文作者:春江暮客
- 原文链接:https://www.bobobk.com/en/32.html
- 版权声明:本作品采用 知识共享署名-非商业性使用-禁止演绎 4.0 国际许可协议 进行许可,非商业转载请注明出处(作者,原文链接),商业转载请联系作者获得授权。