Customize, Modify, and Upload Your Own Docker Image
What is Docker?
Docker is a tool that can package applications along with their virtual containers and dependencies, allowing them to run on any Linux server. This helps achieve flexibility and portability, enabling applications to run anywhere, whether on public cloud, private cloud, or standalone machines.
After getting a free Docker instance from arukas.io, I started experimenting with creating my own public Docker image and finally running it inside Arukas’s Docker environment. This process involves knowledge of:
- Installing Docker
- Pulling a Docker image
- Modifying an existing Docker image and saving it
- Uploading the image to a Docker registry and verifying it
- Other common Docker commands
1. Install and Start Docker Service
yum install docker -y
service docker start
2. Pull a Docker Image
Here we use nginx as an example:
docker pull nginx
3. Modify Existing Docker Image and Save It
Start a container:
docker run -it -d --name my_nginx nginx
Command explanation:
-it: interactive terminal mode-d: run container in detached (background) mode--name: assign a name to the container; if not specified, Docker generates a random namenginx: the image to use
You can enter the container interactively, but for a simple one-line change it is clearer to update the file with a single docker exec command:
docker exec my_nginx sh -c 'printf "my first docker :my-nginx\nby bobobk.com\n" > /usr/share/nginx/html/index.html'
This simple Docker customization is now done.
Now you can create a new Docker image:
Save the existing container as a new image:
docker commit my_nginx chunjiangmuke/nginx:latest
Here, chunjiangmuke is the Docker Hub username.
4. Verify and Upload the Image to Docker Registry
List images:
docker images

You can see the image has been saved. Next is to upload it to the Docker registry.
First, login to Docker. If you don’t have an account, register at Docker official website.
docker login
Enter your username and password when prompted.
Upload the my_nginx image to the public registry:
docker push chunjiangmuke/nginx:latest
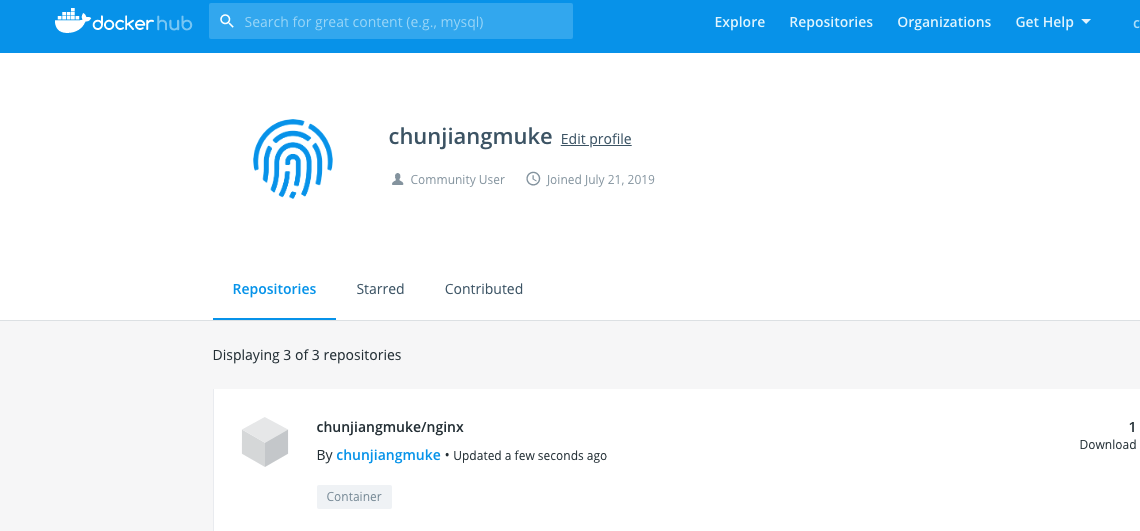
Open the browser and login to Docker to see the uploaded image:
Done, successfully uploaded.
5. Run nginx Docker container and map ports
docker run -p 8080:80 --name nginx -d chunjiangmuke/nginx
wget 127.0.0.1:8080
cat index.html
You should see the content:
my first docker :nginx
Parameters explanation:
-pport mapping, maps container port 80 to local port 8080 (-p 8080:80)--nameassigns a container name, can be any string-druns container in detached mode- The last argument is the image name, here the custom saved
chunjiangmuke/nginx
6. Other Common Docker Commands
List all container IDs:
docker ps -aq
Stop all containers:
docker stop $(docker ps -aq)
Remove all containers:
docker rm $(docker ps -aq)
Remove all images:
docker rmi $(docker images -q)
These bulk deletion commands remove all local containers or images on the current machine, so make sure you are in the right environment before running them.
This article introduced the complete process to modify and upload your first Docker image from scratch.
- 原文作者:春江暮客
- 原文链接:https://www.bobobk.com/en/459.html
- 版权声明:本作品采用 知识共享署名-非商业性使用-禁止演绎 4.0 国际许可协议 进行许可,非商业转载请注明出处(作者,原文链接),商业转载请联系作者获得授权。