2026 Practical Python Workflow: Replace pip, venv, and pipx with uv
Many Python projects start with a simple flow: create a virtual environment, install dependencies, run a script. Once you have more projects, the same flow often becomes messy:
- Virtual environments are created in different places
pip installchanges are not reflected inrequirements.txt- Your local Python version differs from the server
- CLI tools such as
ruff,pytest, andhttpieget mixed into runtime dependencies - New teammates do not know which commands to run after cloning the repo
This is where uv is useful. It puts Python versions, virtual environments, dependency resolution, lockfiles, script execution, and CLI tool management behind one command set. This article keeps the theory light and gives you a workflow you can copy directly.
By the end, you will know:
- How to install and verify
uv - How to create a Python project with a lockfile
- How to use
uv runinstead of manually activating virtual environments - How to run single-file scripts
- How to use
uvxfor temporary CLI tools - How to migrate an old
requirements.txtproject
When uv is worth using first
uv is a good first choice for these projects:
- Python script tools: crawlers, data processing, log analysis, automation
- Web projects: FastAPI, Django, Flask
- AI projects: LangChain, MCP Servers, model-calling scripts
- CLI-heavy projects that use
ruff,pytest,mypy, orhttpie - Team projects where dependency versions need to be reproducible
If you have an old server script that almost never changes, you do not need to migrate immediately. A practical rule is simple: use uv for new projects, and migrate old projects the next time you touch their dependencies.
Method 1: Install uv and verify the environment
1. Install on macOS and Linux
The official installer is the most direct option:
curl -LsSf https://astral.sh/uv/install.sh | sh
After installation, reopen your terminal or reload your shell configuration:
source ~/.zshrc
If you use Bash, it is usually:
source ~/.bashrc
2. Install on Windows
Run this in PowerShell:
powershell -ExecutionPolicy ByPass -c "irm https://astral.sh/uv/install.ps1 | iex"
3. Verify the installation
uv --version
uv help
If you see the version and subcommand help, the installation is ready.
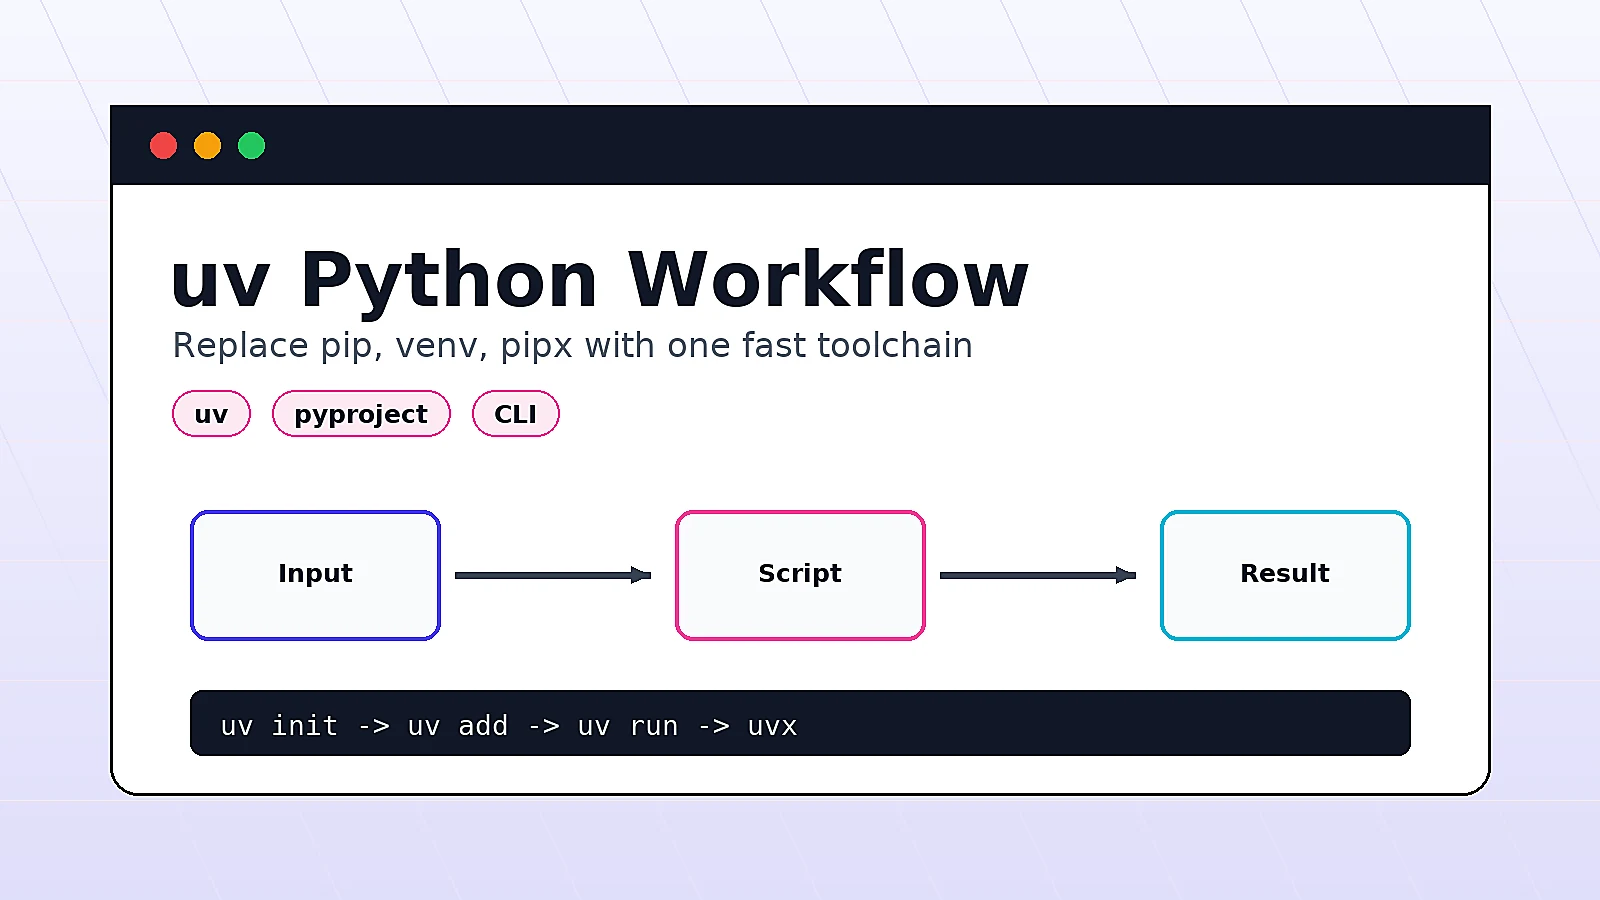
These are the commands worth remembering first:
uv init
uv add
uv remove
uv sync
uv run
uv lock
uvx
Method 2: Create a new Python project
The example below builds a small weather CLI. It calls a public API and prints a short city weather summary.
1. Initialize the project
uv init weather-cli
cd weather-cli
Check the generated files:
ls -la
You should see a structure similar to this:
.
├── .git
├── .gitignore
├── .python-version
├── README.md
├── main.py
└── pyproject.toml
.python-version records the expected Python version for the project. pyproject.toml records project metadata and dependencies.
2. Pin a Python version
If you want the project to use Python 3.12, run:
uv python install 3.12
uv python pin 3.12
Then check:
cat .python-version
Expected output:
3.12
3. Add dependencies
This example uses httpx for HTTP requests and rich for better terminal output:
uv add httpx rich
The command updates two important files:
pyproject.toml: direct dependenciesuv.lock: the full locked dependency tree
Commit both files to version control.
Method 3: Run the project with uv run
When people first switch to uv, the biggest change is that they no longer need to manually run:
python3 -m venv .venv
source .venv/bin/activate
pip install -r requirements.txt
In a uv project, run:
uv run python main.py
uv run checks whether the environment exists, syncs dependencies if needed, and then executes the command inside the project environment.
1. Write the example code
Replace main.py with this:
from __future__ import annotations

import sys

import httpx
from rich.console import Console
from rich.table import Table


console = Console()


def fetch_weather(city: str) -> dict:
    response = httpx.get(
        "https://geocoding-api.open-meteo.com/v1/search",
        params={"name": city, "count": 1, "language": "en", "format": "json"},
        timeout=10,
    )
    response.raise_for_status()
    data = response.json()
    results = data.get("results", [])
    if not results:
        raise ValueError(f"city not found: {city}")

    location = results[0]
    weather = httpx.get(
        "https://api.open-meteo.com/v1/forecast",
        params={
            "latitude": location["latitude"],
            "longitude": location["longitude"],
            "current": "temperature_2m,wind_speed_10m",
        },
        timeout=10,
    )
    weather.raise_for_status()
    current = weather.json()["current"]
    return {
        "name": location["name"],
        "country": location.get("country", ""),
        "temperature": current["temperature_2m"],
        "wind": current["wind_speed_10m"],
    }


def main() -> None:
    city = sys.argv[1] if len(sys.argv) > 1 else "Shanghai"
    result = fetch_weather(city)

    table = Table(title=f"Weather: {result['name']}, {result['country']}")
    table.add_column("Metric")
    table.add_column("Value")
    table.add_row("Temperature", f"{result['temperature']} C")
    table.add_row("Wind", f"{result['wind']} km/h")
    console.print(table)


if __name__ == "__main__":
    main()
Run it:
uv run python main.py Shanghai
You should see a table with temperature and wind speed. The exact values will change with the API response.
2. Debug without activating the virtual environment
You can still inspect .venv:
ls -la .venv
But day-to-day development does not require manual activation. Use:
uv run python main.py Beijing
uv run python -m pip list
This reduces the common confusion of not knowing which virtual environment is active.
Method 4: Put development tools in dev dependencies
Runtime dependencies and development tools should be separate. For example, httpx is a runtime dependency, while ruff and pytest are development dependencies.
Add development dependencies:
uv add --dev ruff pytest
Run formatting and lint checks:
uv run ruff format .
uv run ruff check .
Create a small test:
mkdir -p tests
cat > tests/test_smoke.py <<'EOF'
from main import fetch_weather


def test_fetch_weather_shanghai():
    result = fetch_weather("Shanghai")
    assert result["name"]
    assert "temperature" in result
EOF
Run the tests:
uv run pytest
If you do not want tests to depend on a real network request, split fetch_weather into smaller functions and mock the HTTP layer. This example keeps the real request to stay short.
Method 5: Run temporary CLI tools with uvx
Some tools are only needed once and should not be added to project dependencies. For example, to temporarily format or check a directory:
uvx ruff check .
You can also run third-party CLIs temporarily:
uvx httpie --version
uvx pycowsay "hello uv"
If you use a tool every day, install it as a global tool:
uv tool install ruff
ruff --version
Use this simple rule:
- Required for project reproducibility:
uv add --dev - Needed once or rarely:
uvx - Used daily across many projects:
uv tool install
Method 6: Migrate an existing requirements.txt project
Assume an old project looks like this:
old-project
├── app.py
└── requirements.txt
The requirements.txt file contains:
fastapi==0.115.0
uvicorn[standard]==0.30.6
1. Initialize inside the existing directory
Enter the project directory and run:
uv init --bare
--bare works well for existing projects because it does not generate a sample main.py.
2. Import dependencies
uv add -r requirements.txt
Then sync the environment:
uv sync
3. Update the start command
The old command might be:
source .venv/bin/activate
uvicorn app:app --reload
After migration, use:
uv run uvicorn app:app --reload
For deployment scripts, prefer uv sync --frozen so production uses the committed lockfile exactly:
uv sync --frozen
uv run uvicorn app:app --host 0.0.0.0 --port 8000
Validation: Confirm the project is reproducible
After the steps above, use this command set to check the project:
uv lock --check
uv sync --frozen
uv run python --version
uv run python main.py Shanghai
If these commands pass, the dependency declaration, lockfile, and run entry are in good shape.
Commit these files:
git add pyproject.toml uv.lock .python-version main.py README.md
git commit -m "Use uv for Python project workflow"
For team collaboration, a new teammate only needs:
git clone <repo-url>
cd weather-cli
uv sync
uv run python main.py Shanghai
Troubleshooting
1. uv command not found
The error may look like this:
zsh: command not found: uv
First reopen the terminal. If it still fails, check whether the installation directory is in PATH:
echo "$PATH"
On macOS and Linux, you can also rerun the installer and follow the shell configuration prompt.
2. uv add cannot find pyproject.toml
This usually means you are not inside the project directory.
Fix it:
cd weather-cli
uv add requests
If this is an existing project, initialize it first:
uv init --bare
3. Python version mismatch
Check the project requirement:
cat .python-version
Install and sync:
uv python install
uv sync
To explicitly switch to 3.12:
uv python install 3.12
uv python pin 3.12
uv sync
4. Lockfile and dependency declaration are out of sync
If uv lock --check fails, pyproject.toml and uv.lock do not match.
In development, update the lockfile:
uv lock
In production, do not regenerate the lockfile automatically. Let the deployment fail, fix it on a development machine, and commit the updated lockfile.
5. Not sure whether to use uv add or uv pip install
For normal project development, prefer:
uv add package-name
This updates both pyproject.toml and uv.lock.
uv pip install is better for compatibility with traditional pip workflows, such as maintaining an old environment temporarily. For new projects, build your workflow around uv init, uv add, uv sync, and uv run.
Summary
The most practical value of uv is not just fewer commands. It unifies the important parts of a Python project: creating the project, locking dependencies, syncing the environment, running commands, and managing tools. For personal projects, it reduces virtual environment and dependency-file confusion; for team projects, it makes a fresh machine much easier to reproduce.
For new projects, start with uv init. For existing projects, migrate in small steps with uv init --bare and uv add -r requirements.txt. Once pyproject.toml, uv.lock, and .python-version are committed, most daily work can flow through one command: uv run.
- 原文作者:春江暮客
- 原文链接:https://www.bobobk.com/en/uv-python-workflow.html
- 版权声明:本作品采用 知识共享署名-非商业性使用-禁止演绎 4.0 国际许可协议 进行许可,非商业转载请注明出处(作者,原文链接),商业转载请联系作者获得授权。
相关文章
- 2026 Practical Guide: Build Your First MCP Server with Python
- rg Tutorial: Why Many Developers Use ripgrep Instead of grep
- 2026 Webmaster Playbook: Automate llms.txt for AI Search with Python
- Build Your Own Solana Wallet Toolkit (Batch Address Generation / SOL and USDT Transfer)
- Build Your Own TRON Wallet Toolkit (Batch Address Generation / USDT Transfer / Staking & Voting)